How to control the surface roughness of key sealing surfaces in ball valve castings
The Importance of Surface Roughness
The critical sealing surface of ball valve castings directly determines the sealing performance and service life of the ball valve. Excessive sealing surface roughness can lead to poor sealing and increased leakage, while low surface roughness can increase processing costs and cause fretting wear. Controlling sealing surface roughness through appropriate processing and testing methods can effectively improve the stability of ball valves in high-pressure, high-temperature, and corrosive media.
Surface Quality Control of Original Castings
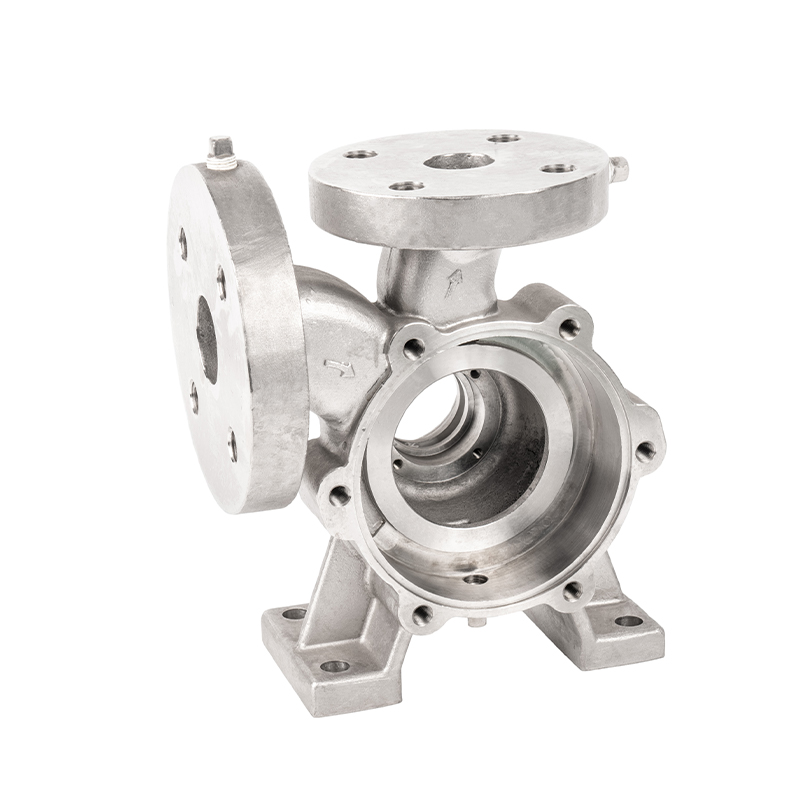
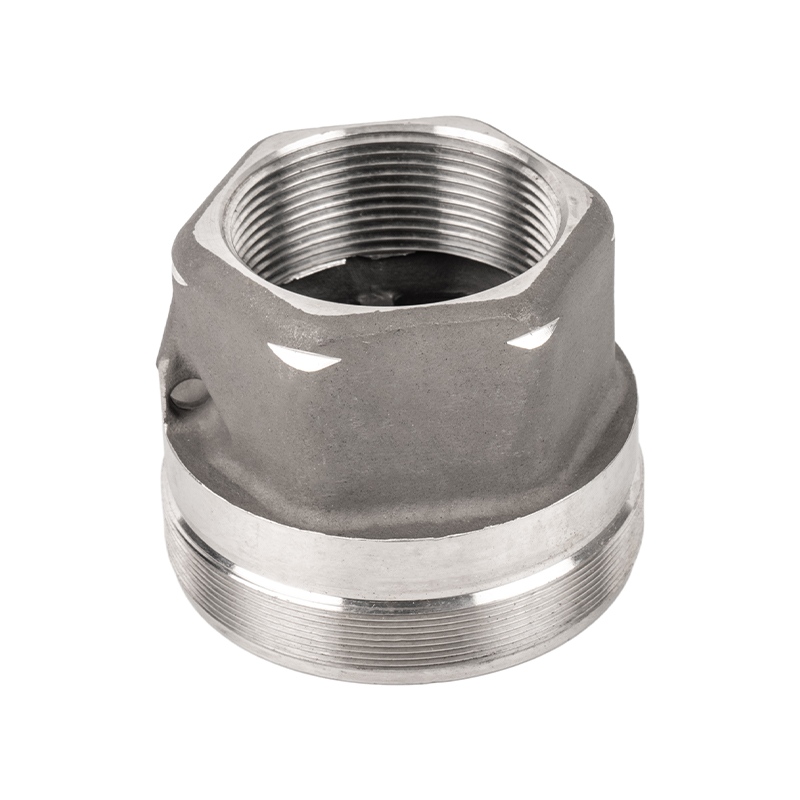
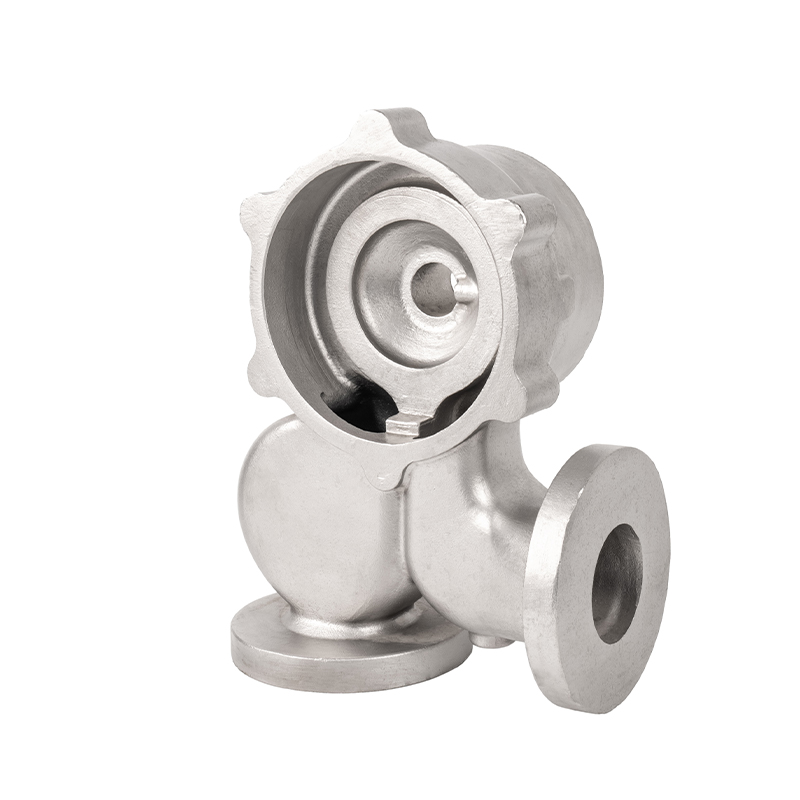
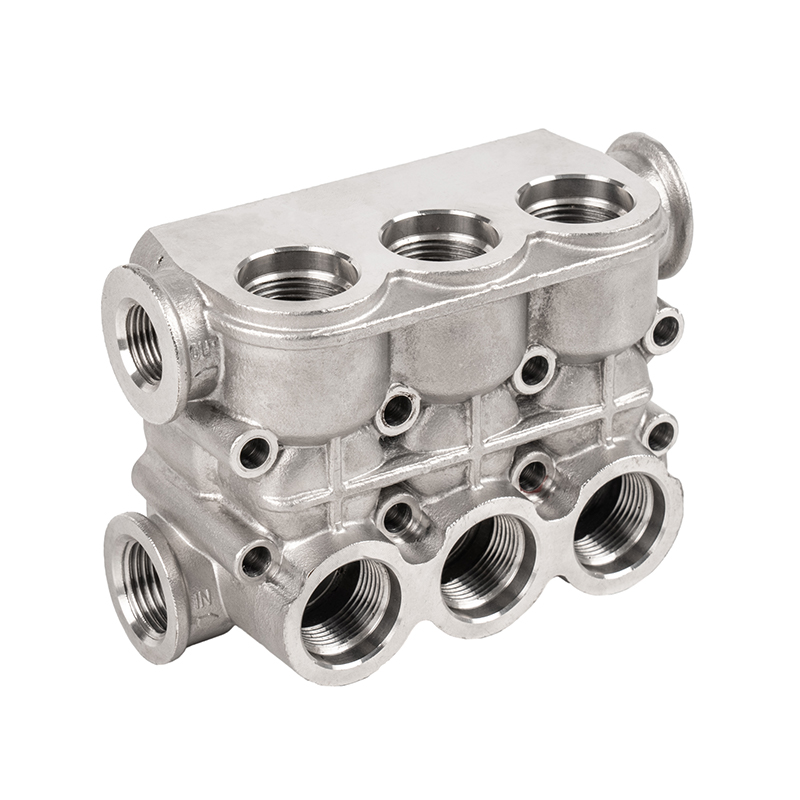
In the production of ball valve castings, surface quality during the casting stage is fundamental to controlling sealing surface roughness. Using processes such as precision casting and coated sand casting can reduce surface sand adhesion and the formation of molten metal oxide scale. The gating system should be designed to avoid eddy currents and porosity defects to minimize subsequent machining removal. After demolding, the casting should be promptly sandblasted or shot blasted to achieve a uniform, burr-free base surface.
Heat Treatment and Microstructure Stabilization
Heat treatment has an indirect impact on controlling sealing surface roughness. Processes such as normalizing, annealing, and solution treatment can improve the uniformity and hardness distribution of the casting's metallurgical structure, reducing tool vibration and cutting resistance during machining. During the heat treatment process, the temperature profile and cooling rate must be controlled to prevent uneven microstructures that can cause microripples on the sealing surface after machining.
Machining Process Optimization
Machining is a key step in controlling sealing surface roughness. Common machining methods include CNC turning, fine boring, grinding, and lapping. During rough machining, appropriate feed rates and cutting speeds must be used to ensure uniform stock removal and avoid localized hardening. During finishing, high-precision tools and a stable tool clamping system should be used. The sharpness of the tool edge directly affects the surface texture. Vibration and temperature rise in the machining environment must be strictly controlled to prevent surface ripples or tool marks.
Grinding and Polishing Technology
For ball valve casting sealing surfaces requiring an Ra value below 0.4μm, fine grinding and polishing are required. During grinding, use a grinding wheel or CBN tool with an appropriately gritted surface and constant temperature coolant to prevent microcracks in the heat-affected zone. Polishing can be performed using mechanical polishing, pneumatic polishing, or electrochemical polishing to remove residual micro-peaks and achieve a mirror-like finish. High-demand sealing surfaces require surface activation after polishing to improve fit with the seal.
Grinding and Lapping Process
Grinding is a critical step in controlling the roughness and fit accuracy of ball valve sealing surfaces. Grinding media typically include aluminum oxide powder, silicon carbide powder, and other materials, combined with a grinding paste of appropriate particle size and viscosity. Through rotation, oscillation, or reciprocating motion, the abrasive particles are evenly distributed across the sealing surfaces, gradually eliminating microscopic peaks and valleys. For the mating surfaces of ball valves and seats, lapping not only reduces the Ra value but also ensures that concentricity and contact area meet design requirements.
Surface Inspection and Quality Control
Surface roughness must be inspected using specialized instruments, such as contact roughness meters or non-contact optical measuring instruments. Samples should be taken at different locations on the sealing surface to ensure consistent surface roughness. Common parameters include Ra (arithmetic mean deviation) and Rz (ten-point height). Test results should be compared with the design drawings. Any deviations require rework. A process monitoring table should be established within the quality management system to record tool wear, processing parameters, and test results.
Coating and Surface Hardening
In some applications, coating or surface hardening treatments may be applied to the sealing surface to enhance wear and corrosion resistance. Examples include HVOF (High Velocity Oxygen-Fuel Spraying), chrome plating, nickel plating, and carbide spraying. The coating thickness and hardness must be uniform and controllable. After coating, fine grinding or polishing should be performed to ensure the surface roughness meets the design specifications.


 English
 Español
 русский
 中文简体
中文简体

