What are the common non-destructive testing methods for stainless steel ball valve castings
As a key component of pressure-bearing, sealing and opening and closing functions, the quality stability of stainless steel ball valve castings directly affects the operational safety and durability of the entire system. In harsh application environments, traditional visual and dimensional inspections are difficult to detect internal defects or surface microcracks, so non-destructive testing (NDT) has become an indispensable means to ensure the quality of castings. Through professional non-destructive testing methods, it is possible to comprehensively evaluate its internal structure and surface state without damaging the workpiece body to ensure that the ball valve castings meet the design standards and industry specifications.
Radiographic Testing (RT)
Radiographic testing is a highly sensitive non-destructive testing method that is suitable for detecting volume defects such as pores, shrinkage, inclusions, and cracks inside castings. Commonly used radiation sources include X-rays and gamma rays, which penetrate castings and form images on photosensitive films or digital detectors to reveal differences in the internal structure of metals.
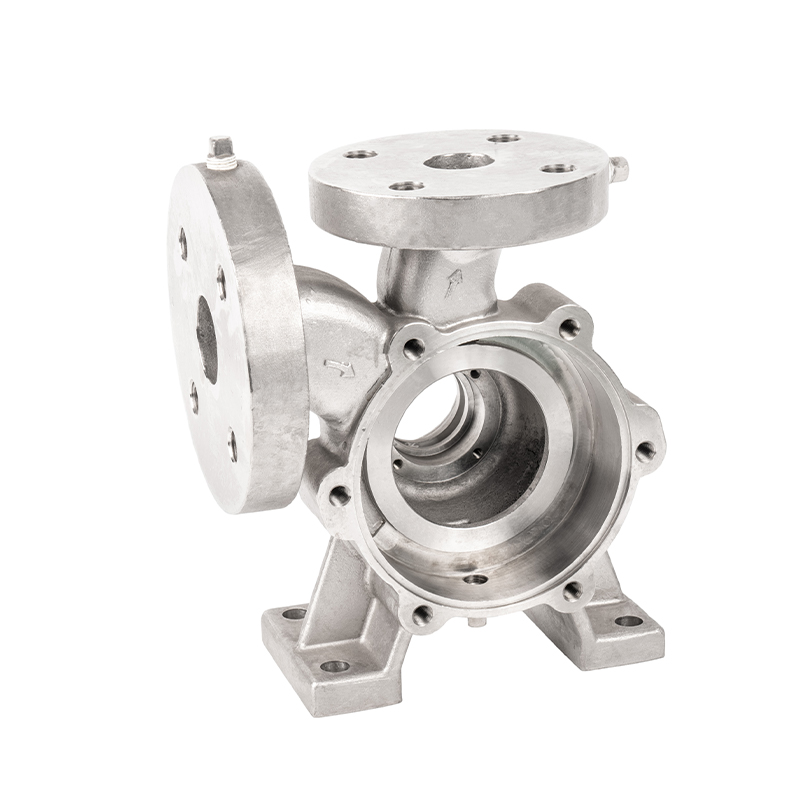
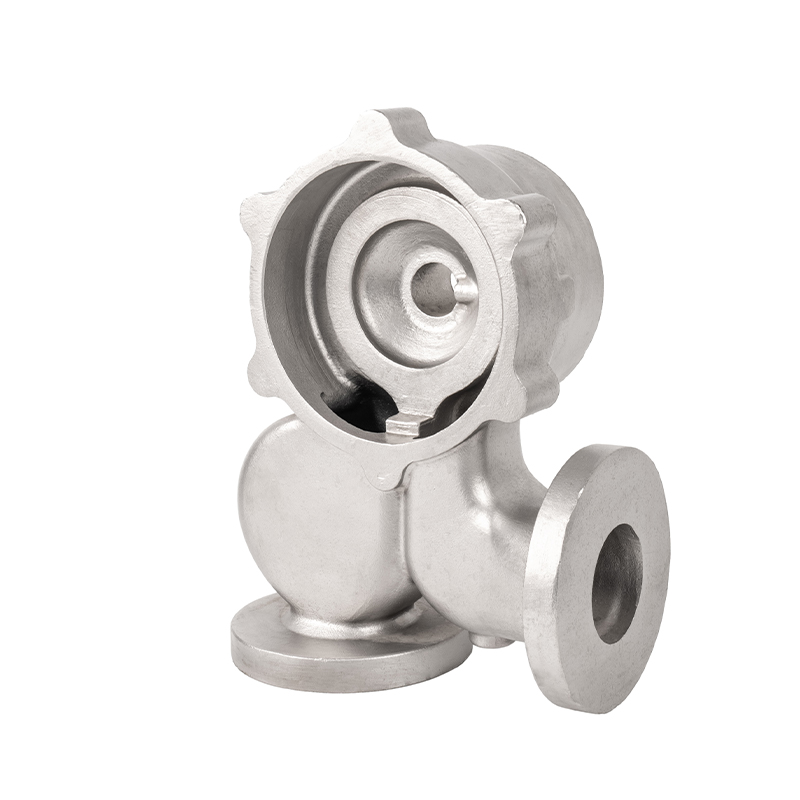
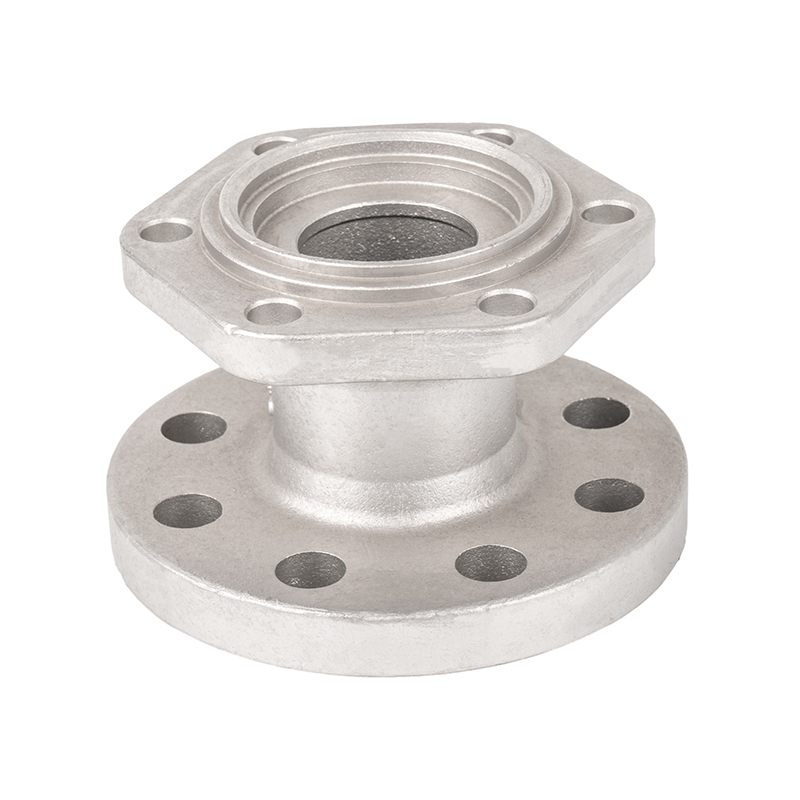
Stainless steel ball valve castings, such as valve bodies, valve covers, and flange thick wall sections, are key areas for radiographic testing. Radiographic testing has the characteristics of clear imaging and traceable results, and is suitable for casting products with high precision and strict quality requirements.
Ultrasonic Testing (UT)
Ultrasonic testing uses high-frequency sound waves to propagate in metals and detect their reflected signals to determine whether there are defects. This method is suitable for detecting defects such as cracks, inclusions, and looseness in castings, and is particularly suitable for medium-thick wall parts.
Ultrasonic waves have the advantages of deep penetration, accurate positioning, and high efficiency. Especially in structural areas where X-ray detection is limited, ultrasonic waves can provide effective supplements. Through A-scan, B-scan and other modes, two-dimensional or three-dimensional defect visualization can be achieved.
Penetrant Testing (PT)
Penetrant testing is a detection method mainly used to detect surface microcracks, hairline, sand holes and other open defects. Its principle is to use capillary action to allow fluorescent or dye penetrants to enter the interior of the defect, and after cleaning and imaging, the defect traces are displayed under ultraviolet or visible light.
This method is suitable for non-magnetic materials such as stainless steel, with high detection accuracy, and is extremely critical to surface quality control. Especially in areas such as valve body shells, valve seat sealing surfaces, and weld heat-affected zones, penetrant testing can effectively identify microcracks that are difficult to detect with the naked eye.
Magnetic Particle Testing (MT)
Magnetic particle testing is applicable to ferromagnetic materials. It uses the principle of magnetic leakage under the action of a magnetic field to apply dry powder or wet magnetic suspension to the surface of the test piece. The magnetic field disturbance at the defective part will adsorb the magnetic powder to form a visual defect trace.
Although stainless steel itself does not have good magnetism, some austenitic stainless steel may produce some residual magnetism after cold processing. Magnetic particle testing still has application scenarios for welding areas and local pressurized processing areas.
Eddy Current Testing (ET)
Eddy current testing is a surface and near-surface defect detection method based on the principle of electromagnetic induction. It is suitable for detecting cracks, corrosion, material changes and other problems of conductive materials such as stainless steel.
Eddy current testing has the advantages of fast, non-contact, and high sensitivity. It is suitable for rapid screening of large-scale, precision small-size ball valve castings, and is particularly suitable for detecting the consistency of the surface after processing or after heat treatment.
Acoustic Emission Testing (AE)
Acoustic emission testing is a dynamic detection method used to monitor the internal energy release process of materials. It is suitable for monitoring the expansion behavior of microcracks in high pressure loading or fatigue testing.
This method plays an important role in the extreme working condition testing and quality research and analysis of ball valve castings. By monitoring microcrack activities in real time, stress concentration areas can be accurately located, providing a technical basis for structural improvement and material optimization.


 English
 Español
 русский
 中文简体
中文简体

