What are the standards and methods for testing the airtightness or pressure resistance of hydraulic castings
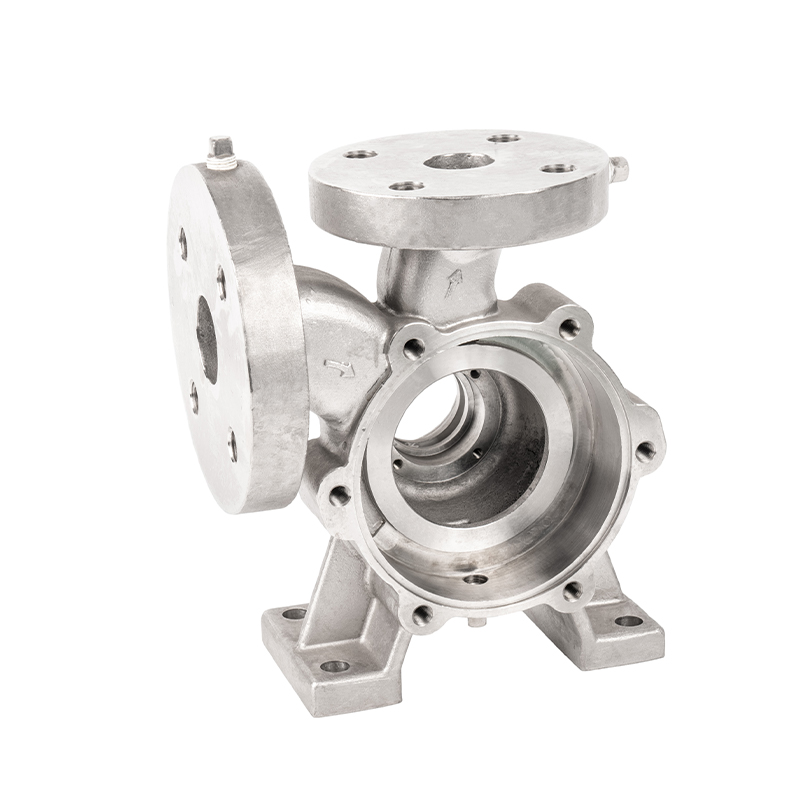
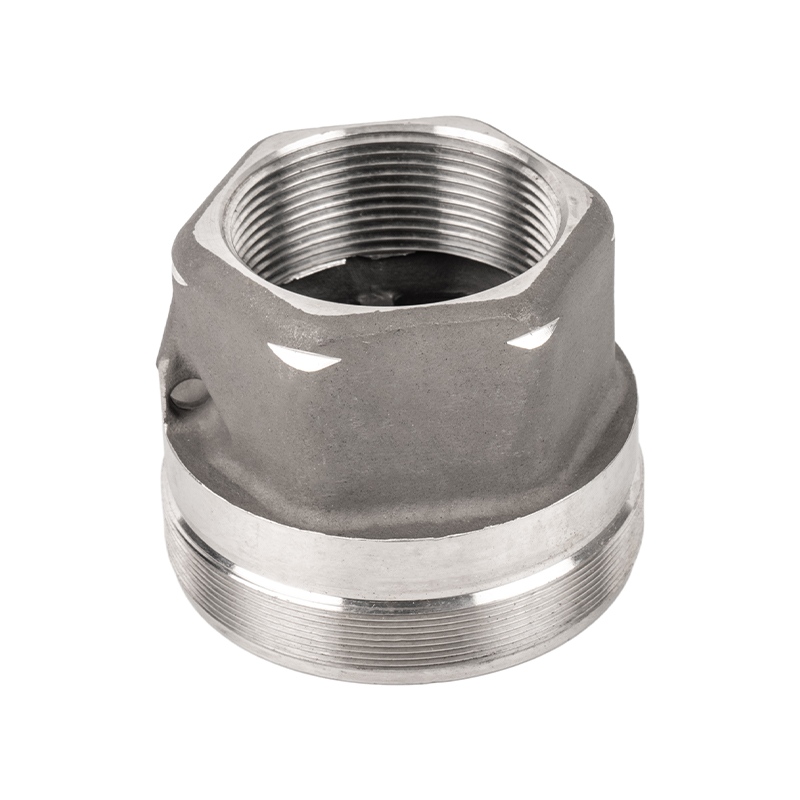
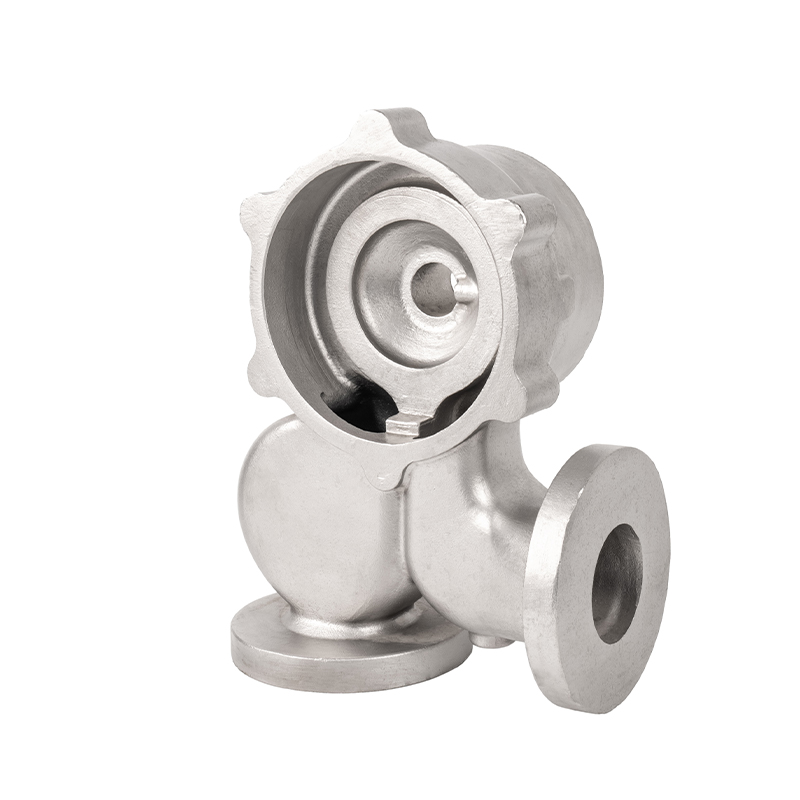
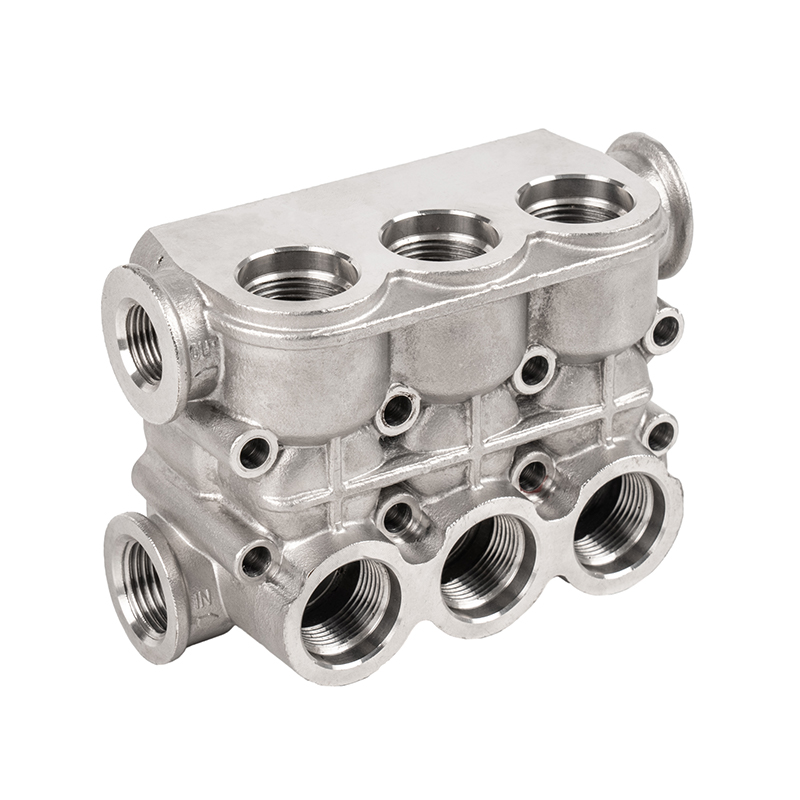
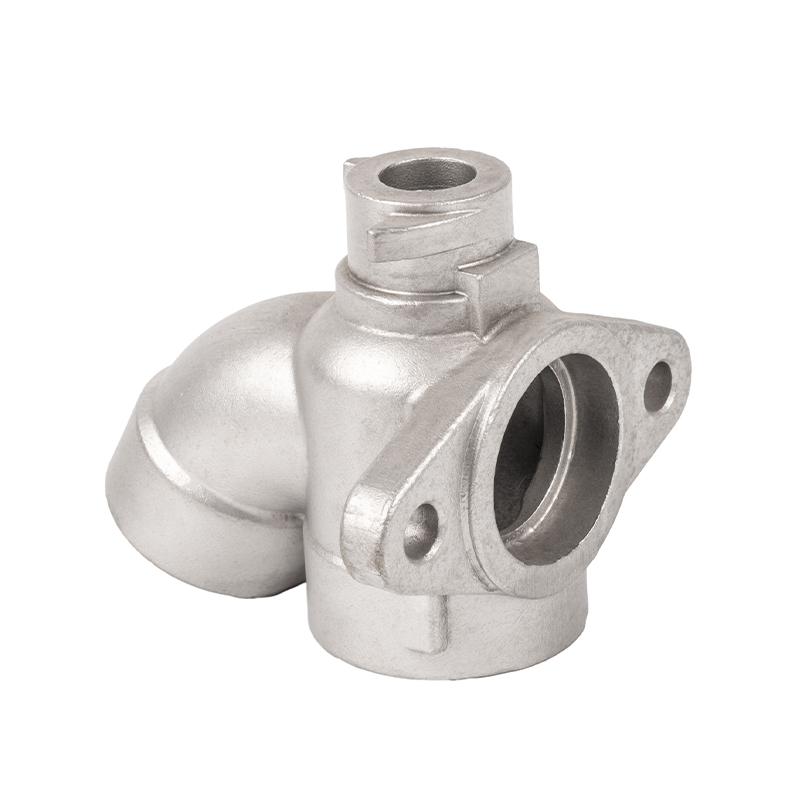
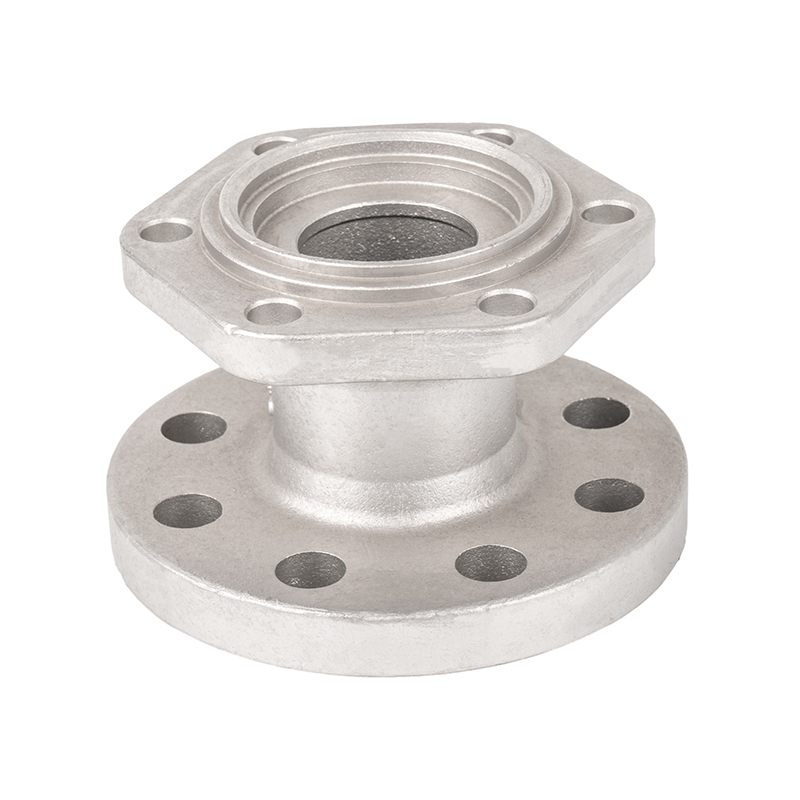
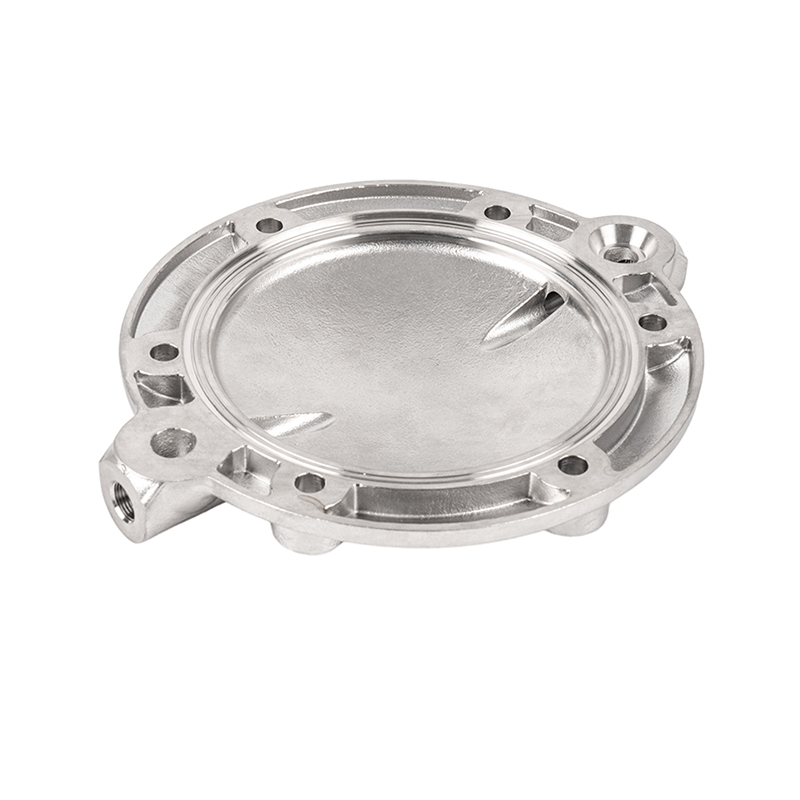
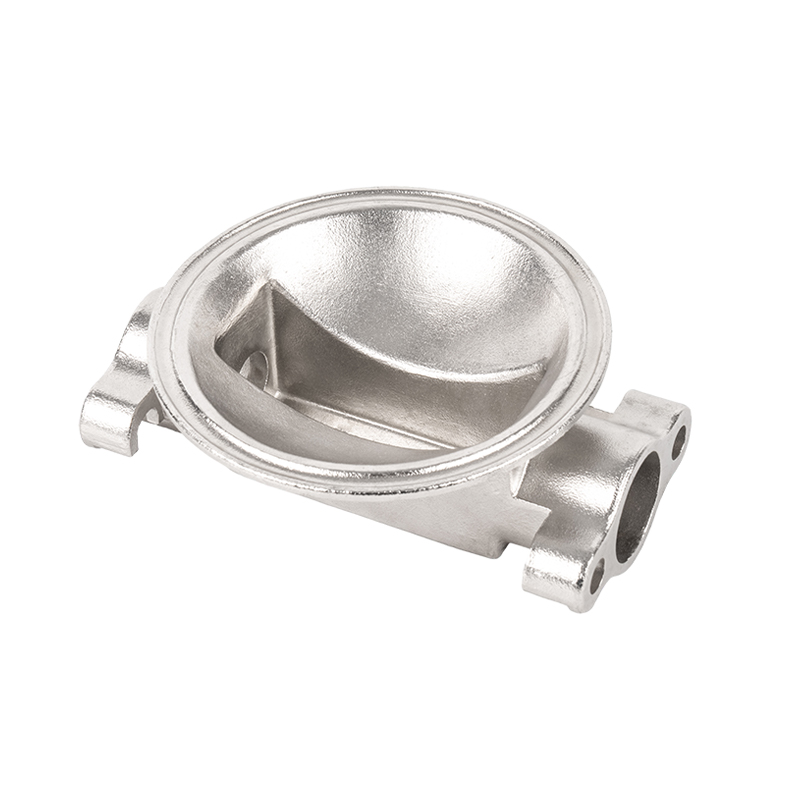
Hydraulic mechanical castings, such as valve bodies, pump housings, and cylinder barrels, are fundamental components within hydraulic systems. They feature complex internal flow paths and are subjected to high operating pressures. Consequently, pressure resistance (hydraulic strength) and leak tightness (gas tight seal) are crucial quality indicators. Rigorous testing guarantees product qualification, system safety, and long-term operational reliability.
Pressure Resistance (Hydrostatic Strength) Testing: Standards and Execution
The hydrostatic test, or hydraulic strength test, verifies the structural integrity of the casting under high fluid pressure. It ensures the component will not undergo plastic deformation or rupture under maximum stress conditions.
Key Pressure Parameters Determination
The test pressure for hydraulic castings is consistently set much higher than the component’s Nominal Pressure (Design Working Pressure), according to industry standards and specific product specifications.
-
Standard Multiplier: A common industry practice dictates that the test pressure should be 1.5 times the nominal pressure. For example, a valve body designed for a nominal pressure of 25MPa must withstand a test pressure of at least 37.5MPa.
-
Test Medium: Liquid mediums such as clean water, hydraulic oil, or emulsion are typically used. Liquids are preferred due to their incompressibility, which minimizes energy release and enhances safety in the event of a casting failure.
-
Hold Time: The test pressure must be maintained for a specified duration, usually ranging from 3 to 10 minutes, depending on the casting's wall thickness, size, and the governing standard. Longer hold times are required for large or critical components.
Testing Procedure and Acceptance Criteria
The testing procedure demands precise control and meticulous observation for reliable results.
-
Pressurization Process: Pressure must be increased slowly and uniformly to the test level. Rapid pressure spikes should be avoided to prevent misdiagnosis or damage. The rate of increase should be slowed once 90% of the target pressure is reached.
-
Visual Inspection: During the hold time, the operator must conduct a detailed visual examination of all external surfaces, welds (if applicable), and joint areas.
-
Acceptance Criteria: A casting is deemed compliant if:
-
The casting body shows no visible signs of leakage (e.g., dripping or spraying).
-
The casting structure exhibits no observable deformation or rupture.
-
The pressure gauge reading remains stable throughout the required hold time without significant decay.
-
Leak Tightness (Airtightness) Testing: Methods and Requirements
Leak tightness testing assesses the density and integrity of the casting material, focusing on micro-defects such as micro-shrinkage, fine porosity, or tiny cracks that could lead to fluid seepage. Since gas molecules are significantly smaller than liquid molecules, gas offers superior penetration, making airtightness testing highly sensitive to microscopic flaws.
Medium and Pressure Settings
The test medium for leak tightness is usually a dry, clean gas, such as compressed air or nitrogen.
-
Test Pressure: The airtightness test pressure typically ranges from 60 to 100 of the nominal pressure, or as specified by the product standard. This is generally lower than the hydrostatic test pressure. Some standards mandate a minimum pressure of 0.2 MPa.
-
Criticality: For the control chambers and internal passages of hydraulic valve bodies, airtightness is paramount. It ensures effective fluid control and prevents damaging "internal leakage" within the system.
Key Detection Methods
Several high-sensitivity methods are employed for checking the airtightness of hydraulic castings:
-
Water Immersion Test:
-
The casting is internally pressurized with the test gas.
-
The entire component or the specific area under inspection is submerged in a water tank. The highest point must be clear of the water surface by a set distance.
-
Acceptance Standard: After a sufficient immersion time, the surface is observed for continuous, steady streams of bubbles. Persistent bubbling indicates a leak path, leading to rejection.
-
-
Liquid Application Test (Soap Bubble Test):
-
The casting is pressurized internally.
-
A special detection liquid (e.g., soap solution or foaming agent) is applied to the critical surfaces, such as mating faces, threaded connections, or wall thickness transitions.
-
Acceptance Standard: If a leak exists, the escaping gas will form a continuously growing bubble on the surface. Visual inspection typically lasts for at least 1 minute.
-
-
Pressure Decay Test (Differential Pressure Method):
-
This method uses high-precision sensors to monitor the pressure drop within the sealed, pressurized casting over a specific hold time (e.g., 3 minutes).
-
Advantage: This method is highly automated and provides a quantitative measure of the leak rate, making it suitable for high-volume production.
-
Acceptance Standard: The actual pressure drop must be less than the maximum allowable pressure drop specified in the product standard or agreed upon by the supplier and customer.
-
-
Helium Mass Spectrometry Leak Detection:
-
This is the most sensitive method, capable of detecting extremely tiny leaks (micro-leaks).
-
Helium is used as a tracer gas to pressurize the casting. A mass spectrometer then detects the concentration of helium escaping into the surrounding vacuum chamber or sniffing area.
-
This method is reserved for aerospace or other mission-critical hydraulic castings where zero-leakage tolerance is required.
-
Strict Requirements for Professional Testing Procedures
All professional testing, whether for hydrostatic strength or airtightness, must adhere to strict safety and accuracy regulations.
-
Equipment Calibration: All pressure gauges, sensors, and pressurizing equipment (pumps/compressors) must be professionally calibrated. Gauge accuracy should meet required standards, with the range typically 1.5 to 3.0 times the test pressure.
-
Safety Protocols: During testing, it is strictly forbidden to tighten threaded connections or apply external force to pressurized components. Depressurization must be done slowly, and pressurized parts must not be disassembled before the pressure gauge returns to zero.
-
Traceability: A comprehensive test report is mandatory, detailing the test pressure, medium used, hold time, ambient temperature, operator identification, and final result. All data must be readily traceable.


 English
 Español
 русский
 中文简体
中文简体

